
NHTSA ID Number: 10174934
Manufacturer Communication Number: ENP-733
Summary
The Agility Fuel Solutions (Agility®) service team identified two fuel system ECU (electronic control unit) calibration issues in Blue iQ CNG (compressed natural gas) fuel systems for the Cummins ® 6.7L engine. Issue 1: Program incompatibility causes throttle response to drop to zero when an attempt is made to operate in economy (Eco) mode. Issue 2: “Liters to Empty” Smart Gauge function is not programmed; at fuel levels less than 5-10%, zero throttle response results. Agility® is coding a new ECU calibration to remedy these conditions which will be distributed through the Cummins INSITE customer online portal.
3 Affected Products
Equipments
| AGILITY FUEL SYSTEMS | CNG FUEL SYSTEM | |
| AGILITY FUEL SYSTEMS | CNG FUEL TANK | |
| AGILITY FUEL SYSTEMS | CNG PRESSURE RELIEF DEVIC |
Blue iQ Cummins B6.7L CNG
De-rate and Hours to Empty Calibrations
ENP-733
April 27, 2020
1. Introduction
The Agility Fuel Solutions (Agility®) service team has identified two fuel system ECU (electronic control unit) calibration issues in Blue iQ CNG (compressed natural gas) fuel systems for the Cummins® 6.7L engine as follows:
Issue 1: Program incompatibility causes throttle response to drop to zero when an attempt is made to operate in economy (Eco) mode.
Issue 2: “Liters to Empty” Smart Gauge function is not programmed; at fuel levels less than 5-10%, zero throttle response results.
Agility® is coding a new ECU calibration to remedy these conditions which will be distributed through the Cummins INSITE customer online portal.
Effective immediately and continuing until affected units receive the new calibration, Agility® recommends the following precautionary measures:
- Do not operate the vehicle in Eco mode, and
- Do not rely on the Liters to Empty Smart Gauge function; always keep the vehicle well-fueled to avoid an unexpected empty condition.
2. Affected Units
Two Autocar (VINs 232122 and 232123) and 52 TICO yard tractors equipped with Agility® Blue iQ CNG fuel systems and Cummins® 6.7L engines.
3. Tools Required
4. Diagnostic Symptoms and Preventative Measures
Issue 1: Zero throttle response when Eco Mode is enabled. Figure 1
Figure 1.
Smart Gauge green LED (1) illuminated and “Eco Mode Enabled” message (2) displayed.
ACTION: Press and hold the right Smart Gauge function button until the display changes to
“Eco Mode Disabled” and the red LED illuminates to disable Eco Mode. Figure 2
Figure 2.
Smart Gauge right function button (3), red LED (1) illuminated, and “Eco Mode Disabled” message (2) displayed. The Smart Gauge should display “Eco Mode Disabled” during unit operation until the ECU calibration update is released. Figure 2
Issue 2: Zero throttle response at low fuel levels less than 5-10%.
Figure 3.
Smart Gauge red LED (1) illuminated and “Derate Active” message (2) displayed.
ACTION: Unit must refuel to disable the derate condition automatically.
ALTERNATIVE ACTION: Temporarily disable derate by holding down the Override button; this allows units to be operated on CNG pony tanks.
5. Corrective Action / Procedure
Issues 1 and 2: Install new Agility® ECU calibration, software version TBA via Cummins® INSITE using the following procedure:
Step 1: Using either a NEXIQ® USB-Link 2 or Cummins® INLINE7 tool, verify OBD-II connection is correctly selected. Figure 4.
NEXIQ tool programming screens (not shown throughout this procedure) are similar.
Step 2: Click “Connect to ECM” from the left tab menu. Figure 4
Figure 4.
Initial programming screen. INLINE7 tool connection verification (1) and Step 2 “Connect to ECM” (2).
Step 3a: Click “Connect.” NOTE: No security type or password credentials are required. Figure 5
Step 3a – “Connect” button.
Step 3b: Select “Agility Fuel Delivery System [18]” and click “Connect.” Figure 6.
Figure 6.
Step 3b – “Agility Fuel Delivery System [18]” and “Connect” button.
Step 4: Click “New” and “OK” on the pop-up menus. Figure 7
Step 4 – “New” and “OK” buttons.
Step 5: Once connected, verify ECM connection at the bottom left of the window. Figure 8
Figure 8.
Step 5 – Green circle indicates tool is connected to the ECM.
Step 6: Click “Calibration Selection” from the left tab menu. Figure 9
Figure 9.
Step 6 -“Calibration Selection” tab (6) and Step 7 “ECM/PDD Code Search” button (7).
Step 7: Click “ECM/PDD Code Search” button (Figure 9) and the “Checking for calibration updates” screen will appear. Figure 10
Figure 10.
Step 7 – Checking for calibration updates screen.
Step 8: Wait for a “Successfully found (CAL ID tba)” message to appear in the status box.
When the desired calibration is found, click “Save” and proceed to Step 9. Figure 11
Figure 11.
Step 8 – “Successfully found (CAL ID tba)” message in Status box (a) and “Save” button (8).
The following screen will appear if the requested calibration is not found (Figure 12):
Figure 12.
Step 8 – Calibration not found screen.
If the calibration was not found, double check the following connections:
- Verify stable Wi-Fi signal is present
- Confirm NEXIQ® USB-Link 2 or Cummins® INLINE7 tool is connected to OBD-II
- Confirm Agility ECU is connected properly to the fuel system chassis harness Repeat Steps 6 through 8.
Step 9: Click the “Exit” button. Figure 12
Step 10: Click the “ECM/PDD” button, add all, and click on the “OK” button. Figure 13
Figure 13
Step 10 “ECM/PDD” button (10).
When these options appear, select “Add All,” and click on the “OK” button.
Step 11: Click/expand all folders (the + buttons), then click on “4354537.” Figure 14
Figure 14
Select “Add All” and click “OK.” Figure 15
Figure 15
Step 11b. “Add All” and “OK” buttons (11b).
Step 12: Right click on the calibration ID #, then click “Transfer to ECM” in the pull down menu. Figure 16
Figure 16.
Step 12. Select desired Cal ID # from the list, then click “Transfer to ECM” (12).
Step 13: Follow prompts until programming is successful/complete.
Step 14: When complete, click “Disconnect from ECM” tab at upper left menu and close out INSITE. Figure 17
Figure 17. Step 14 Disconnect from ECM tab.
6. Warranty Information
This procedure is covered under warranty. Standard repair time (SRT) is 0.5 hours. Please refer to Warranty Manual, ENP-067, for warranty reimbursement procedures.
For parts and support, contact Agility® Customer Care: +1 949 267 7745, toll free: +1 855 500 2445 or [email protected]
Agility Fuel Solutions | 3335 Susan Street Suite 100 | Costa Mesa, CA 92626 USA www.agilityfuelsolutions.com
| Revision | Description | Date |
| — | Initial Release | 04/27/2020 |
ENP-733
April 27, 2020
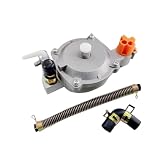
- Compatible with GX160, GX168F, and GX200 engines rated 5.5 to 6.5 horsepower
- Enables conversion to operate on liquefied petroleum gas (LPG) or compressed natural gas (CNG)
- Includes a pressure reducing regulator for consistent gas flow and stable engine function
- Suitable for use in generators, water pumps, and other small engine applications requiring alternative fuel
- construction designed for function in outdoor and industrial environments
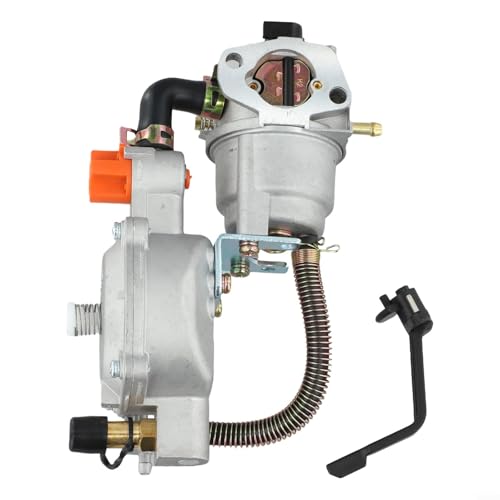
- EASY FUEL CONVERSION: Allows your generator to run on Methane CNG Gas or for LPG Gas with stable performance and no loss of power after installation
- SAFE PRESSURE CONTROL: Built‑in regulator lowers and stabilizes gas pressure before reaching the carburetor for reliable engine start and safe shutdown
- COMPATIBLE FIT: Designed to replace carburetor for 170F for GX160 for GX200 8HP 9HP models, please check dimensions to insure proper fit for your generator
- LONG LASTING BUILD: Robust construction resists wear from low pressure propane or methane gas use, giving consistent performance over time
- QUICK INSTALLATION: Swap your existing carburetor for the included gas carburetor using basic tools, perfect for general backup power setups
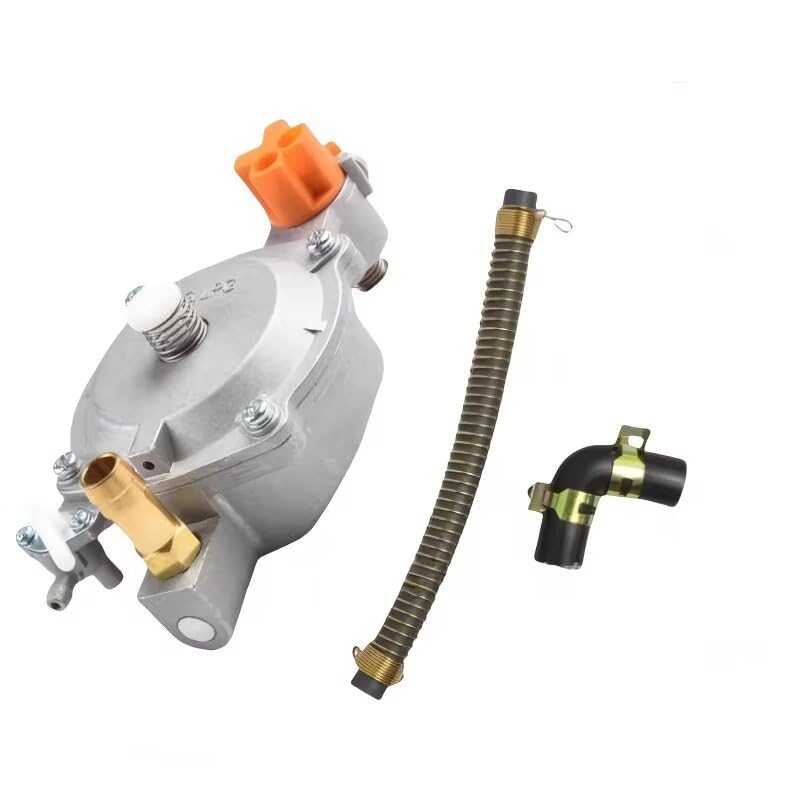
- Material:Metal Color:Silver Weight:500g (Approx.) Quantity: 1set
- Direct Fit for Honda GX160/GX168F/GX200 Engines
- Specifically designed to replace the standard carburetor on 5.5-6.5 HP engines.
- Allowing for precise fine-tuning of fuel flow to ensure stable engine idle and optimal performance.
- Extending engine life, and producing fewer exhaust emissions.
- PRESSURE WASHER ACCESSORY: SIMPSON Dial-N-Wash lets you match pressure output for any cleaning job; Select Max for brick or concrete; Turn to Medium for decks, fences, and wood siding; Choose Min for vehicles, boats, and windows
- EASY TWIST CONTROL: Rotate the dial to Min/Medium/Max to fine-tune pressure; Improve results while reducing risk of damage; Pair with your favorite pressure washer gun, spray wand, and power washer nozzles
- TOOL-FREE SETUP: Attaches between power washer gun and extension wand with industry-standard M22 fittings; Installs in seconds without tools; Works with most gas pressure washer and electric power washer units
- COLD-WATER USE: Rated to 140°F for cold or warm water cleaning; Ideal for everyday residential and commercial tasks; Not designed for soap injection or chemical use
- DURABLE, VERSATILE ACCESSORY: Built for heavy use up to 4500 PSI; Compatible with popular power washer accessories; Great for DIY users and professionals who want control and consistency


- 100% brand-new, never ever been utilized, all parts are tested and quality controlled prior to shipment.
- Manufacturer Part Number:FPS7, 3R3Z-9F972-AA, 3R3Z-9F972-AB, 3R3Z9F972AA, FPS-7; 3R3Z9F972AB, 3R3E-9F972-AA, F8CZ-9F972-BD, F8CZ-9F972-BC; F8CZ-9F972-BE, 3R3E9F972AA, F8CZ9F972BD, F8CZ9F972BC;XW4Z-9F972-BA, XW4Z9F972BA, 3R3Z-9G756-AC, F8CZ9F972BE; 3R3Z9G756AC, F8CF9F972BG, F8CF9F972BE, F8CF9F972BH; F8CF9F972BF, F8CF-9F972-BE, F8CF-9F972-BH;FPS17, FPS-507, F8CF-9F972-BF, F8CF-9F972-BG;PR244, SU10479, SU13804, 5G1142, 5S9017, FPS507, FPS-17.
- Fits For Ford Lincoln Mercury Vehicles with 2.0 2.3 3.0 3.8 3.9 4.6 5.4 Liter V6 V8 L4 Engine : For 2004 2005 Ford Explorer; For 2003 2004 Ford Crown Victoria; For 2004 2005 2006 2007 2008 Ford F150; For 2000 2001 2002 2003 2004 Ford Focus; For 2005 2006 Ford E150 Club Wagon E250 GT; For 2002 2003 2004 2005 2006 2007 Ford Taurus Thunderbird.
- Fits For 1999 2000 2001 2002 2003 2004 Ford Mustang; For 2003 2004 2005 2006 Lincoln Town Car Aviator; For 1998 1999 2000 2001 2002 Lincoln Continental; For 2000 2001 2002 2003 2004 2005 2006 Lincoln LS; For 1998 1999 Mercury Tracer; For 2002 2003 2004 Mercury Sable Marauder Mountaineer Grand Marquis
- Package Include:1x Fuel Pressure Sensor
This product presentation was made with AAWP plugin.